Connect your WhatsApp Business Number to WhautoChat using Embedded Signup for seamless integration.
🚀 Get Started With WhatsApp Embedded Signup
Follow these step-by-step instructions to connect your WhatsApp Business Number using Embedded Signup inside WhautoChat.
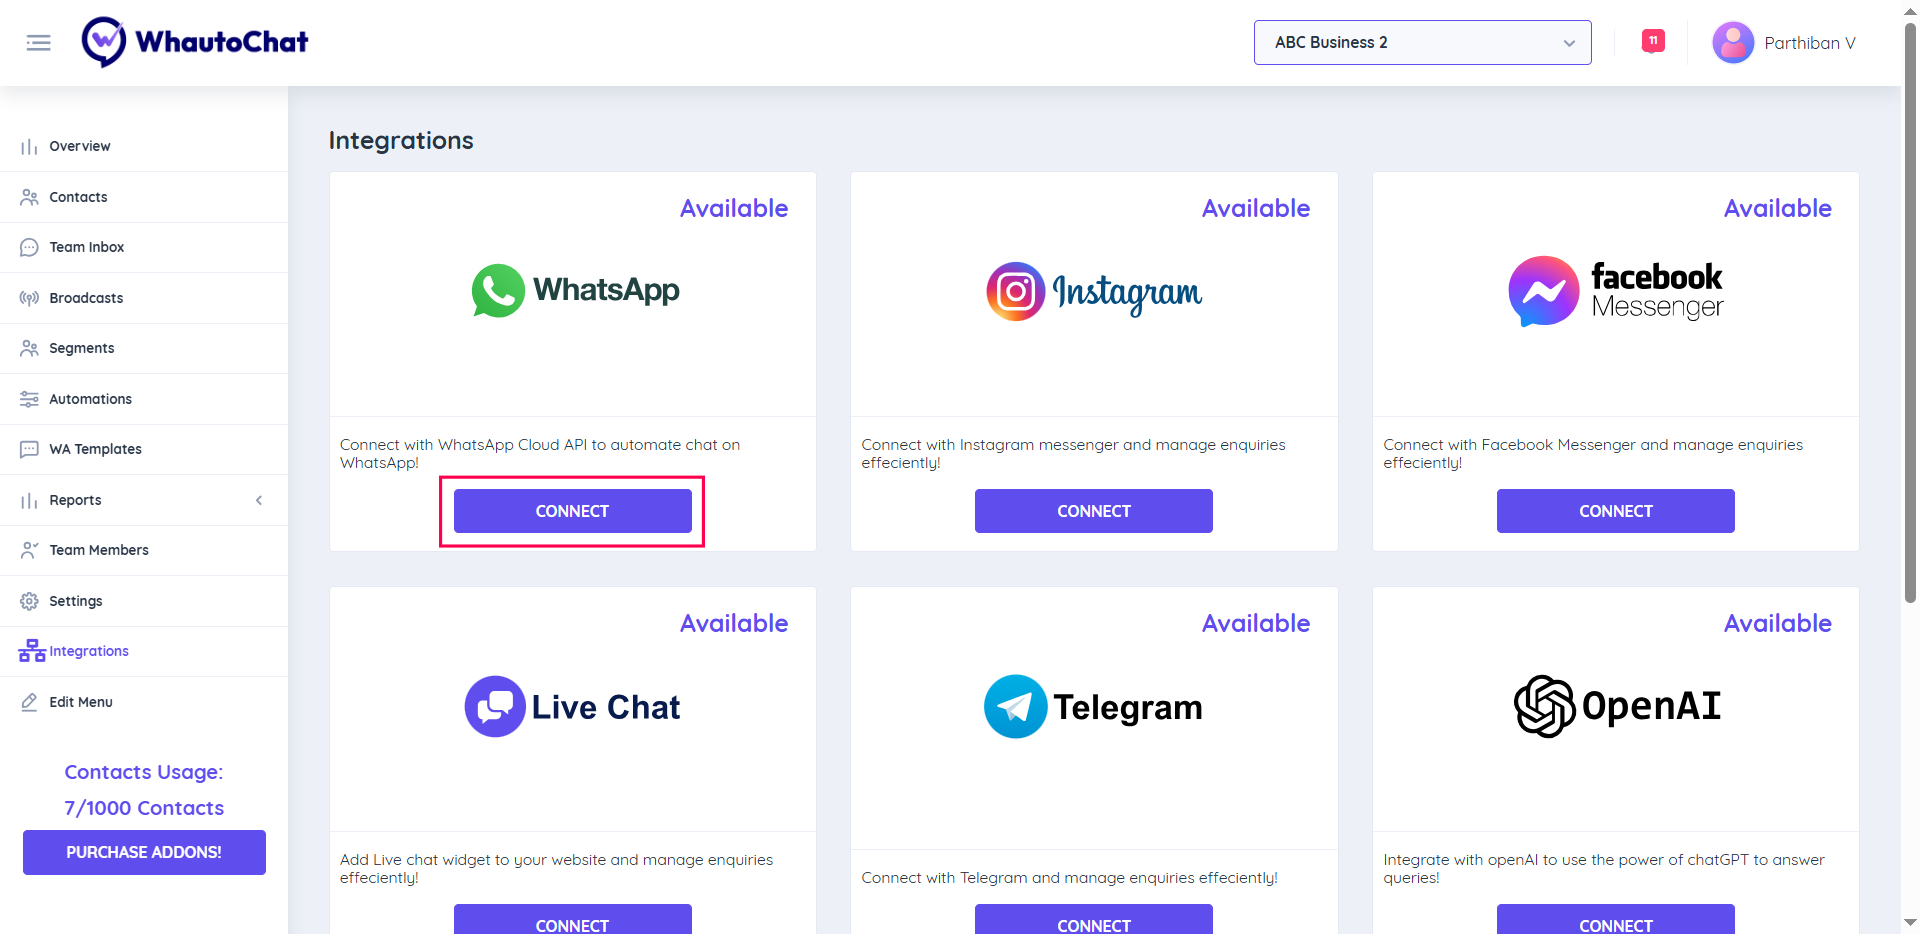
1. Open WhatsApp Integration
- Log in to your WhautoChat app.
- Go to the Integration menu.
- Click on WhatsApp Connect.
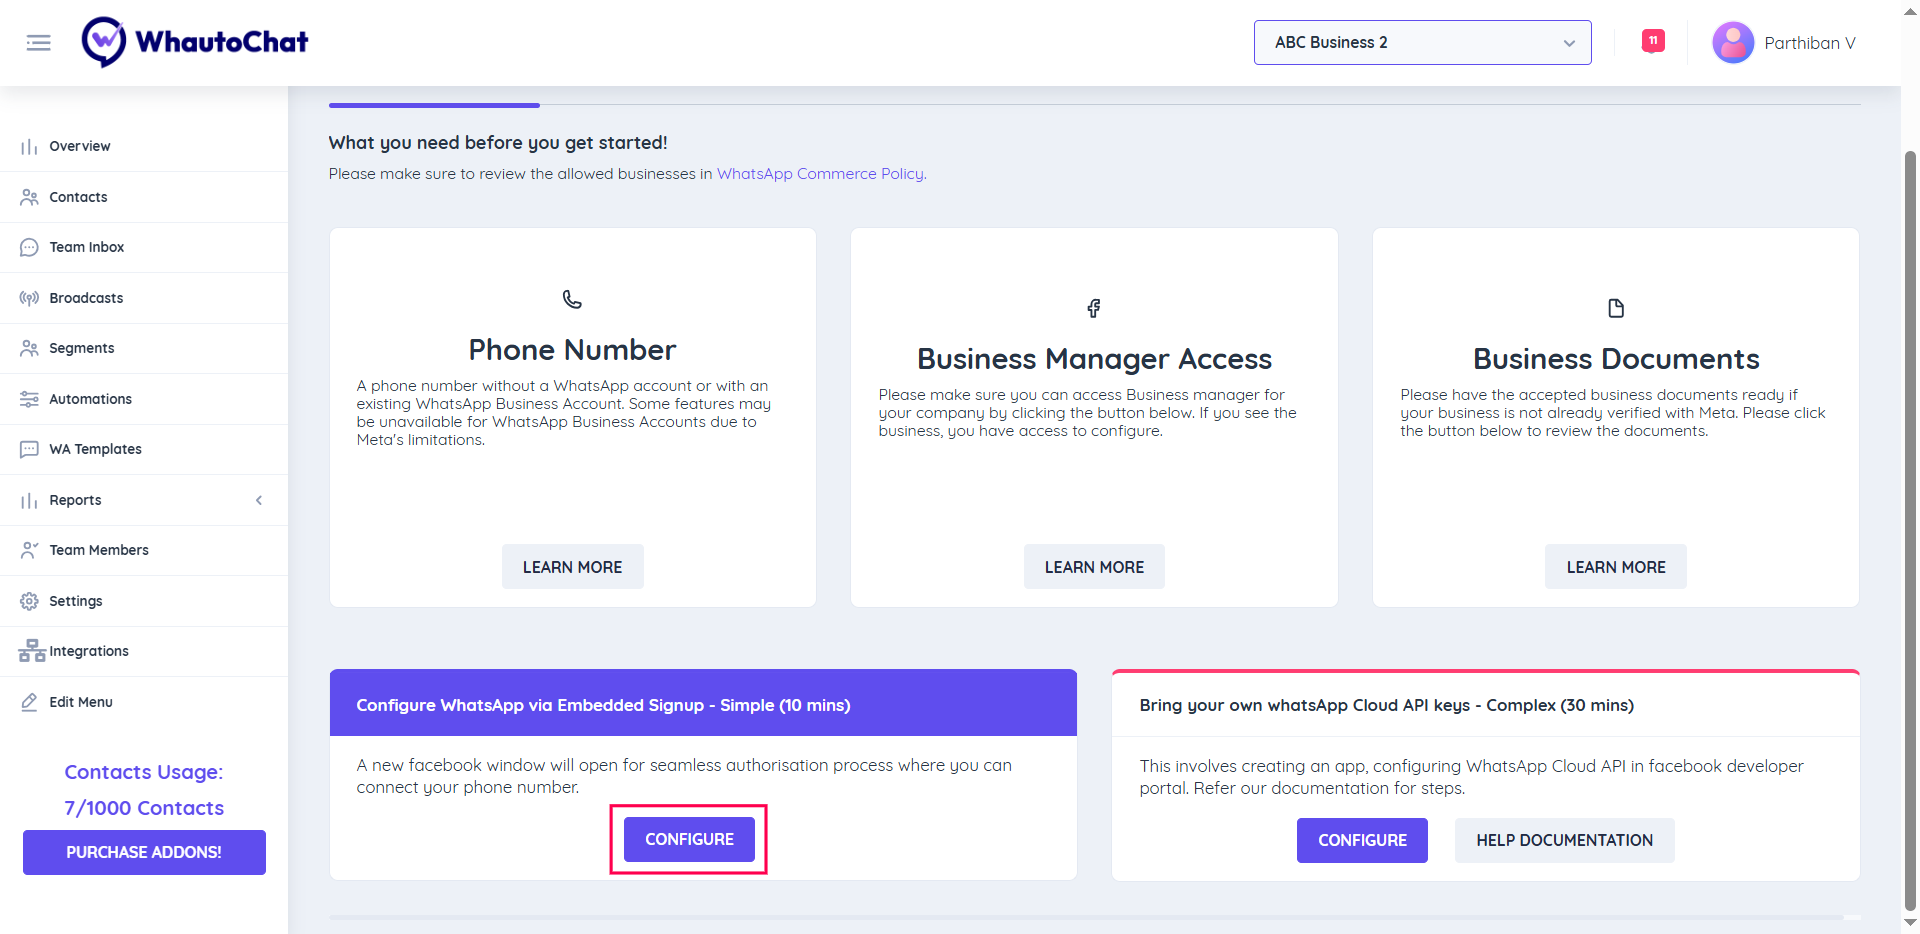
2. Configure Embedded Signup
- Scroll down to the Configure WhatsApp via Embedded Signup section.
- Click the Configure button.
3. Log in with Facebook
- Click Login with Facebook.
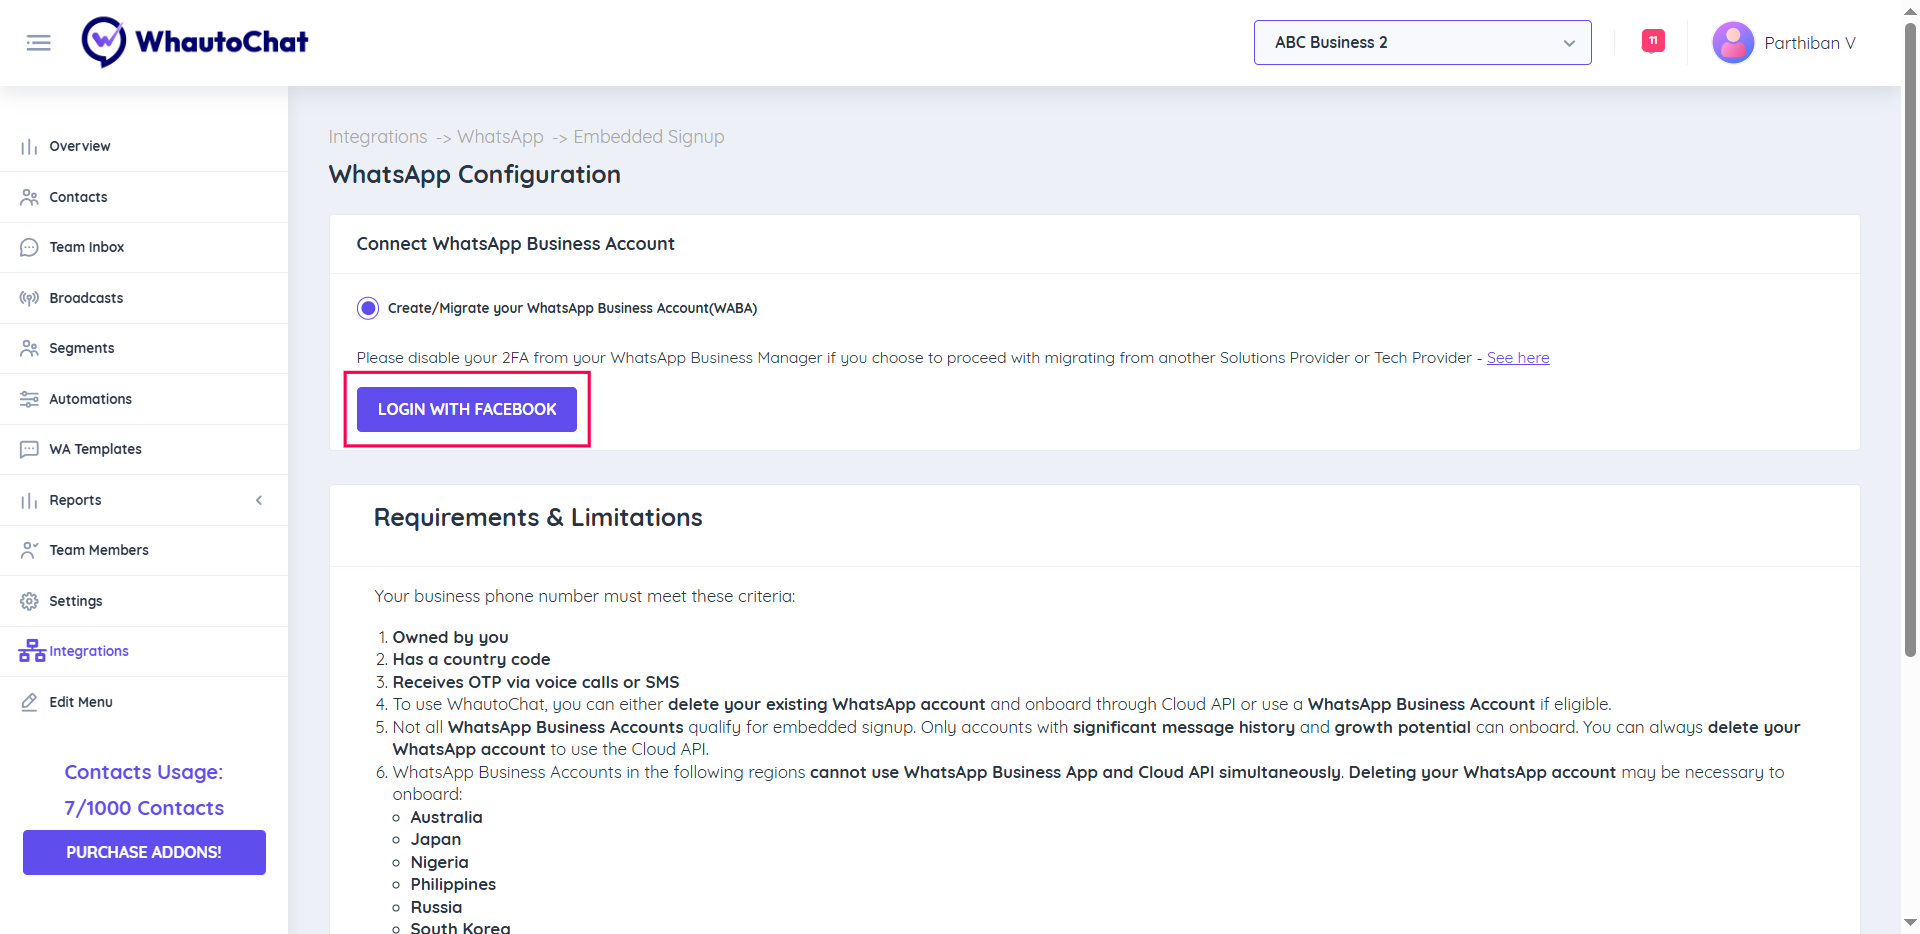
⚠️ Important: If you're migrating from another Solution or Tech Provider, disable 2FA in your WhatsApp Business Manager before proceeding. See Meta’s instructions here.
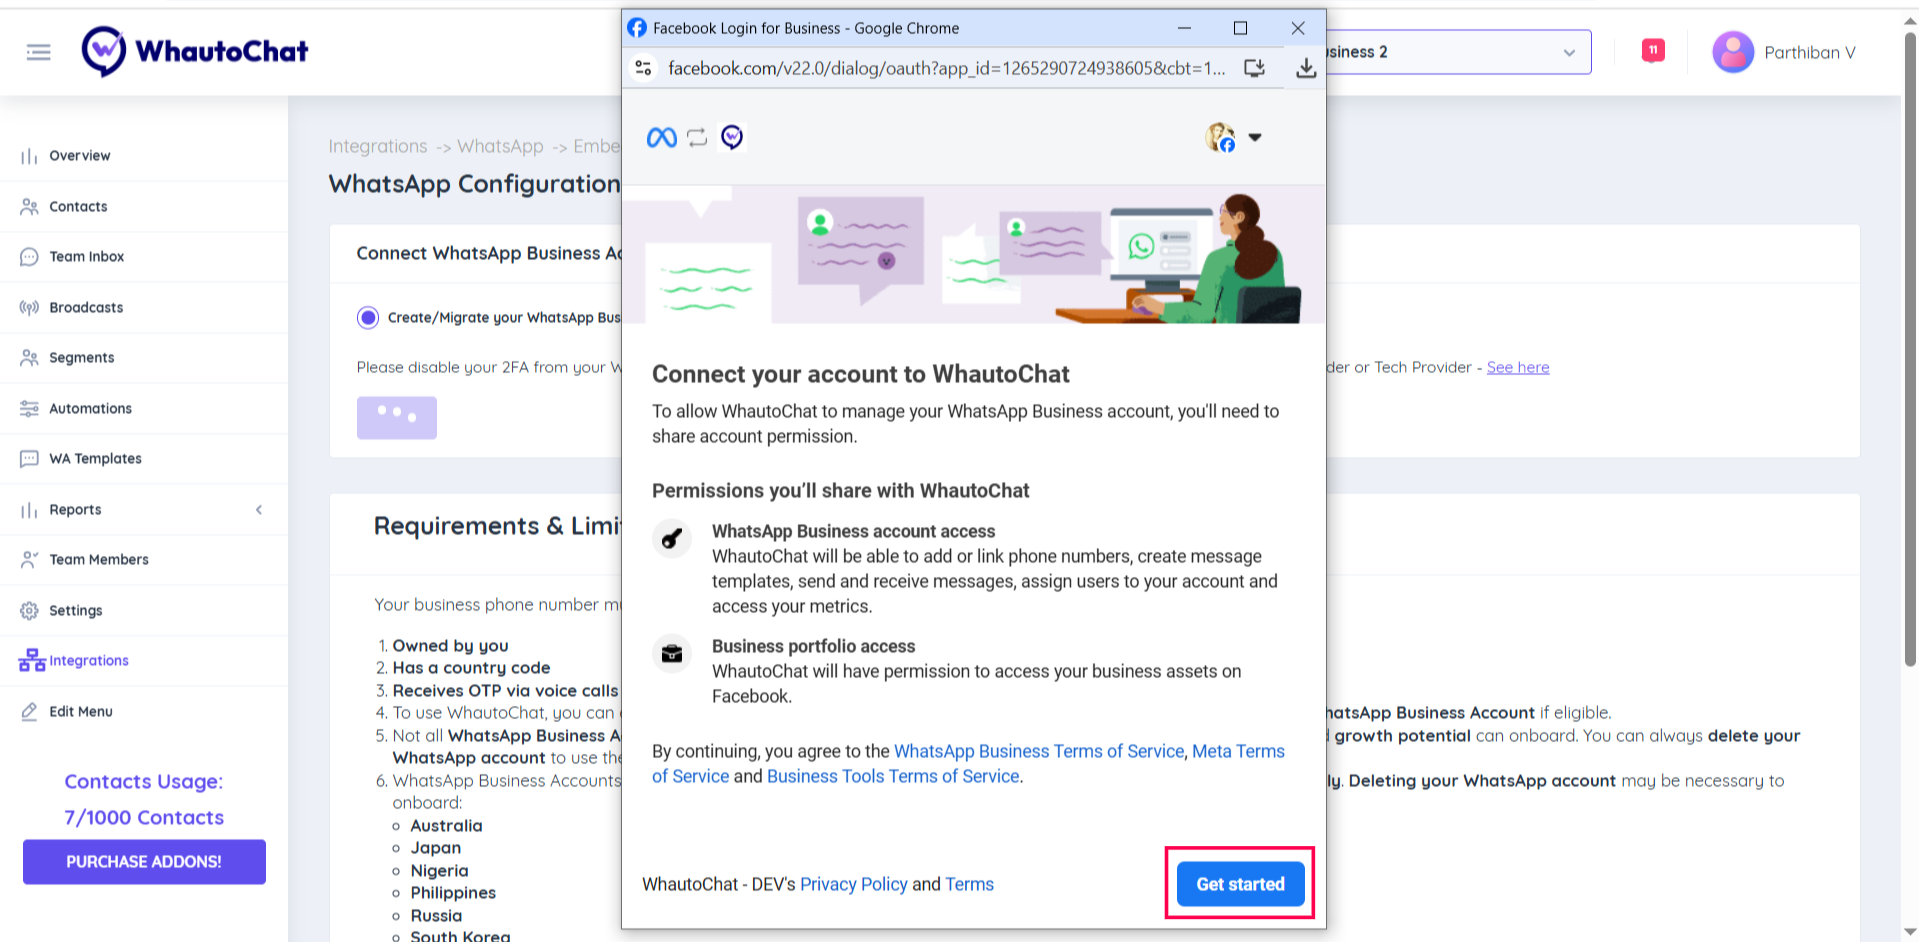
4. Start the Setup Process
- A Facebook pop-up window will appear.
- Click Get Started to continue.
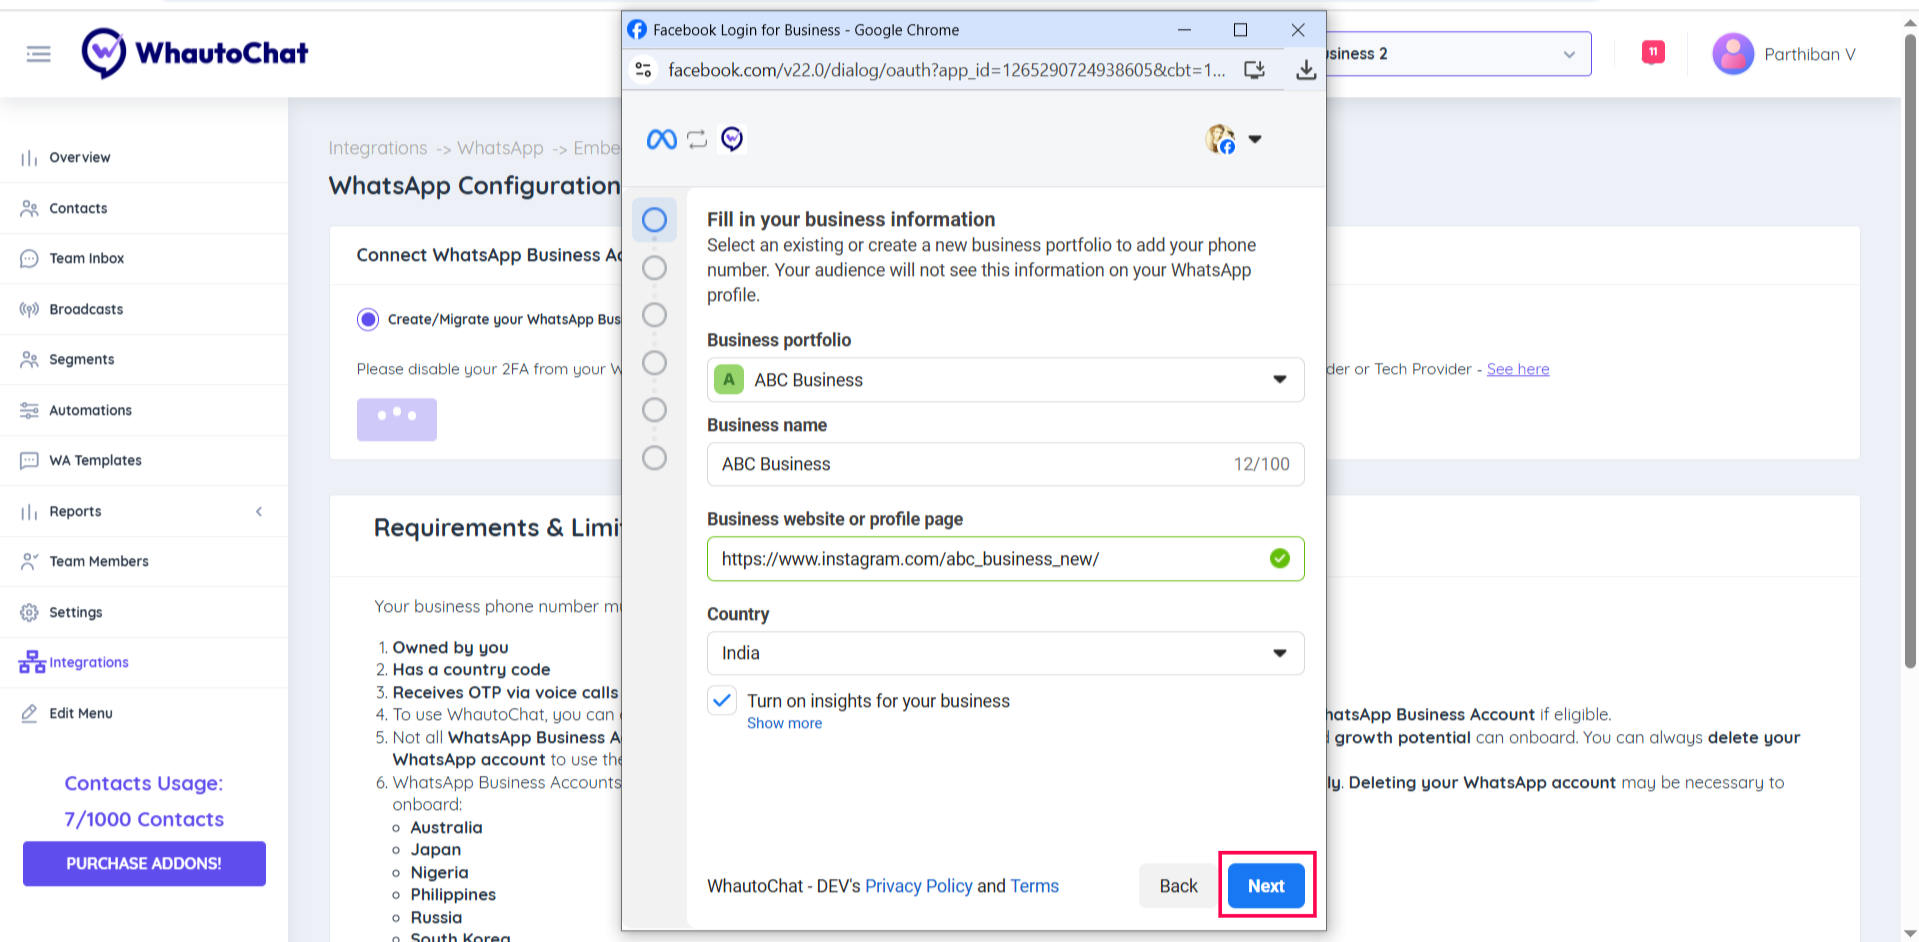
5. Enter Business Information
- If you already have a Meta Business Portfolio, select it. Otherwise, create a new one.
- Provide your Business Website or Social Media Profile URL.
- Select your Operating Country.
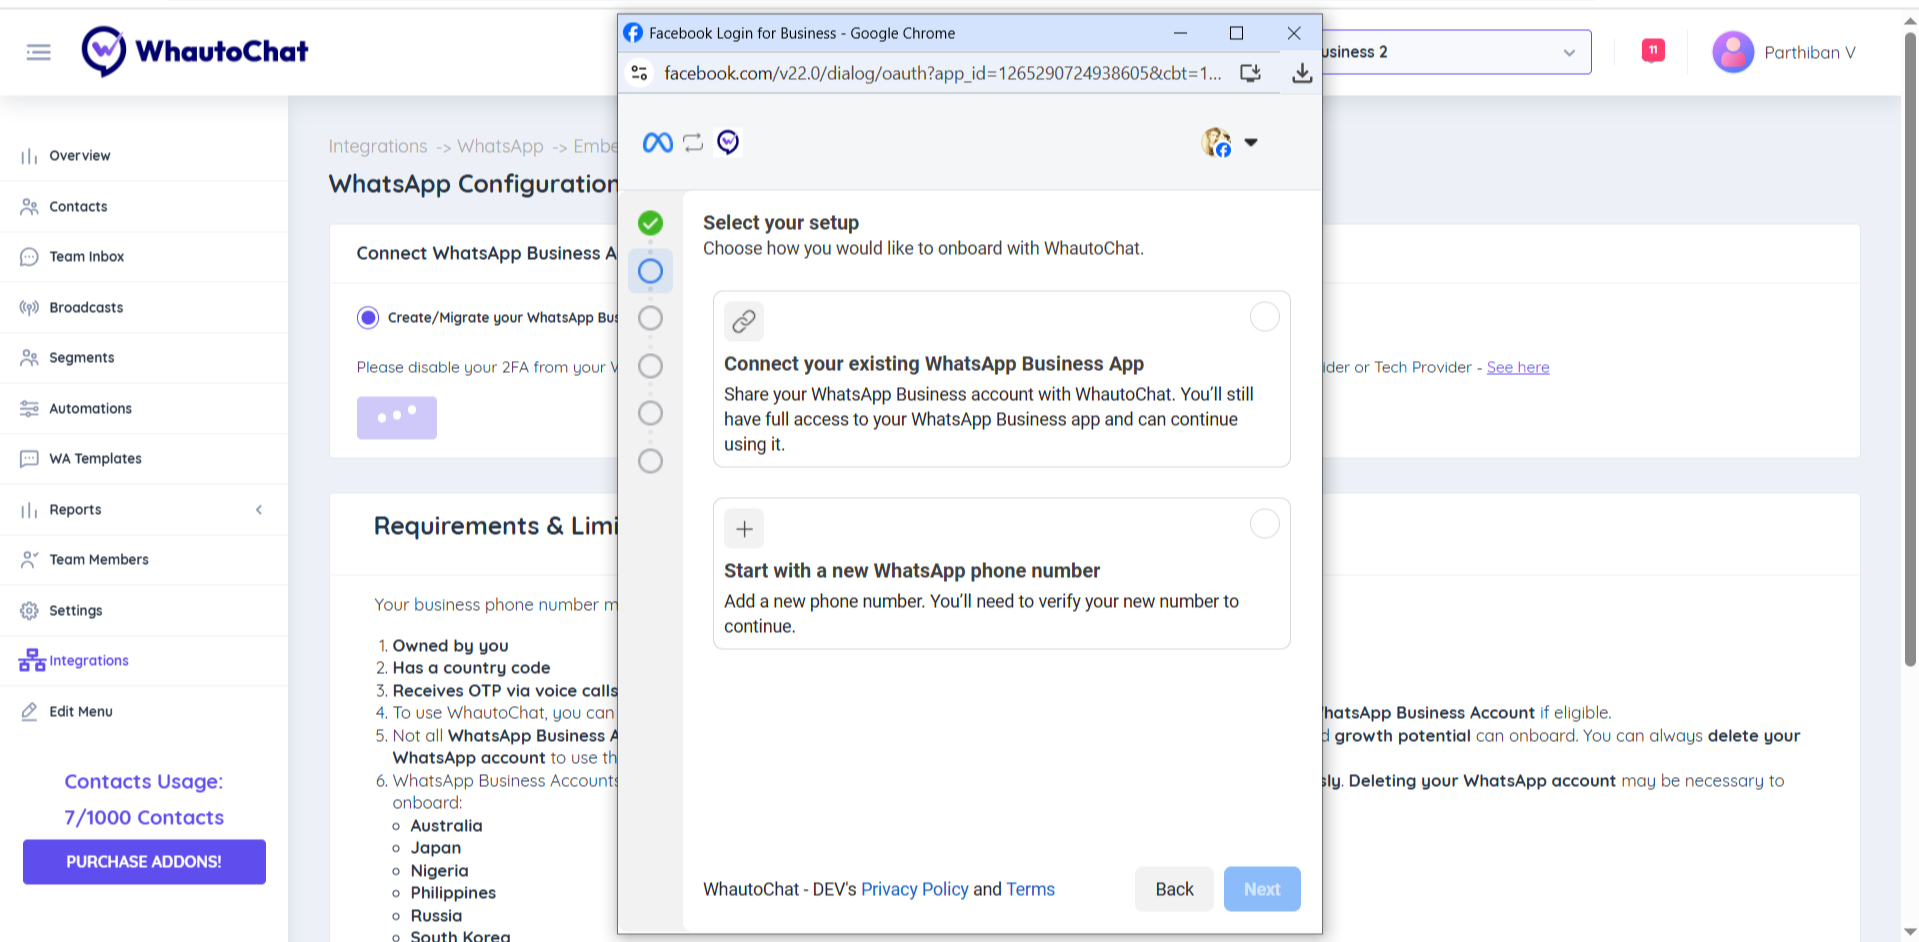
6. Choose How to Connect Your Number
You’ll have two options:
- Use an Existing WhatsApp Business App Number (Available only in some countries)
- Start with a New WhatsApp Phone Number
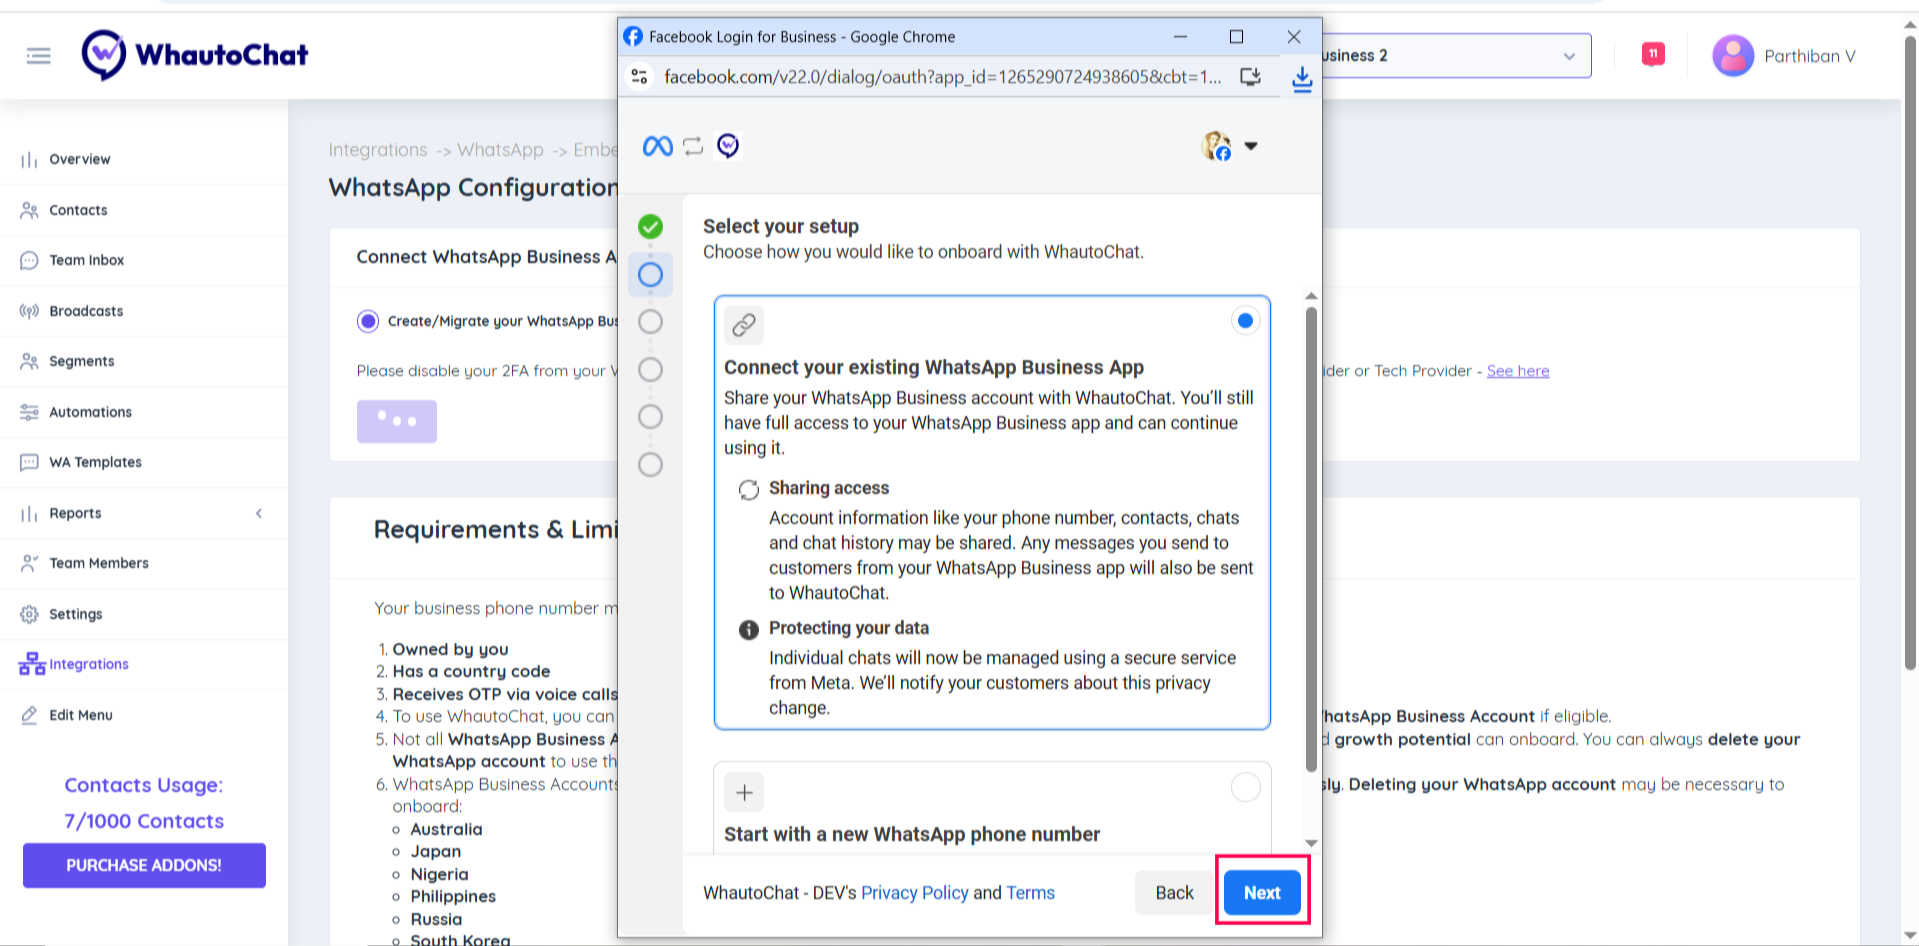
Example: I have chosen to use the New WhatsApp Phone Number option.
7. Create WhatsApp Business Account
- Choose Create a New WhatsApp Business Account
- Then select Create a New WhatsApp Business Profile and click Next
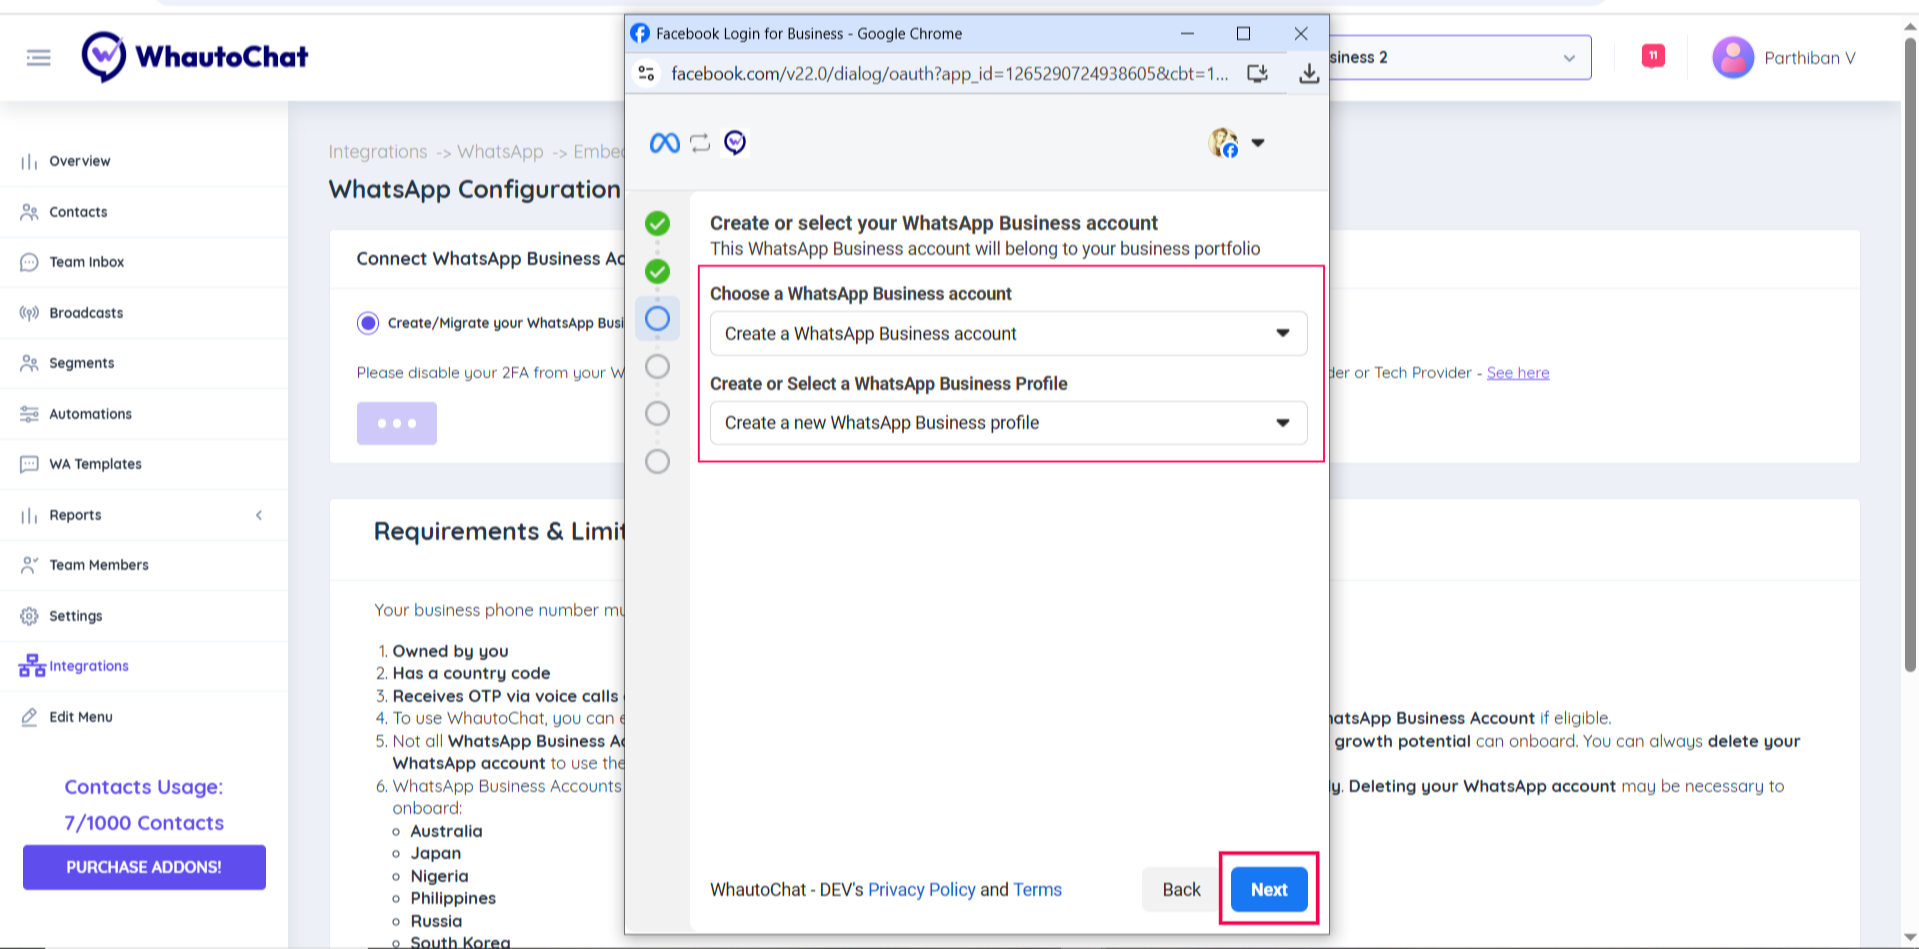
Important Note: When proceeding with your WhatsApp Embedded Signup, be sure to select Create a WhatsApp Business Account rather than using an existing WABA that is already linked to other platforms. Creating a new account is essential to avoid potential payment-related issues.
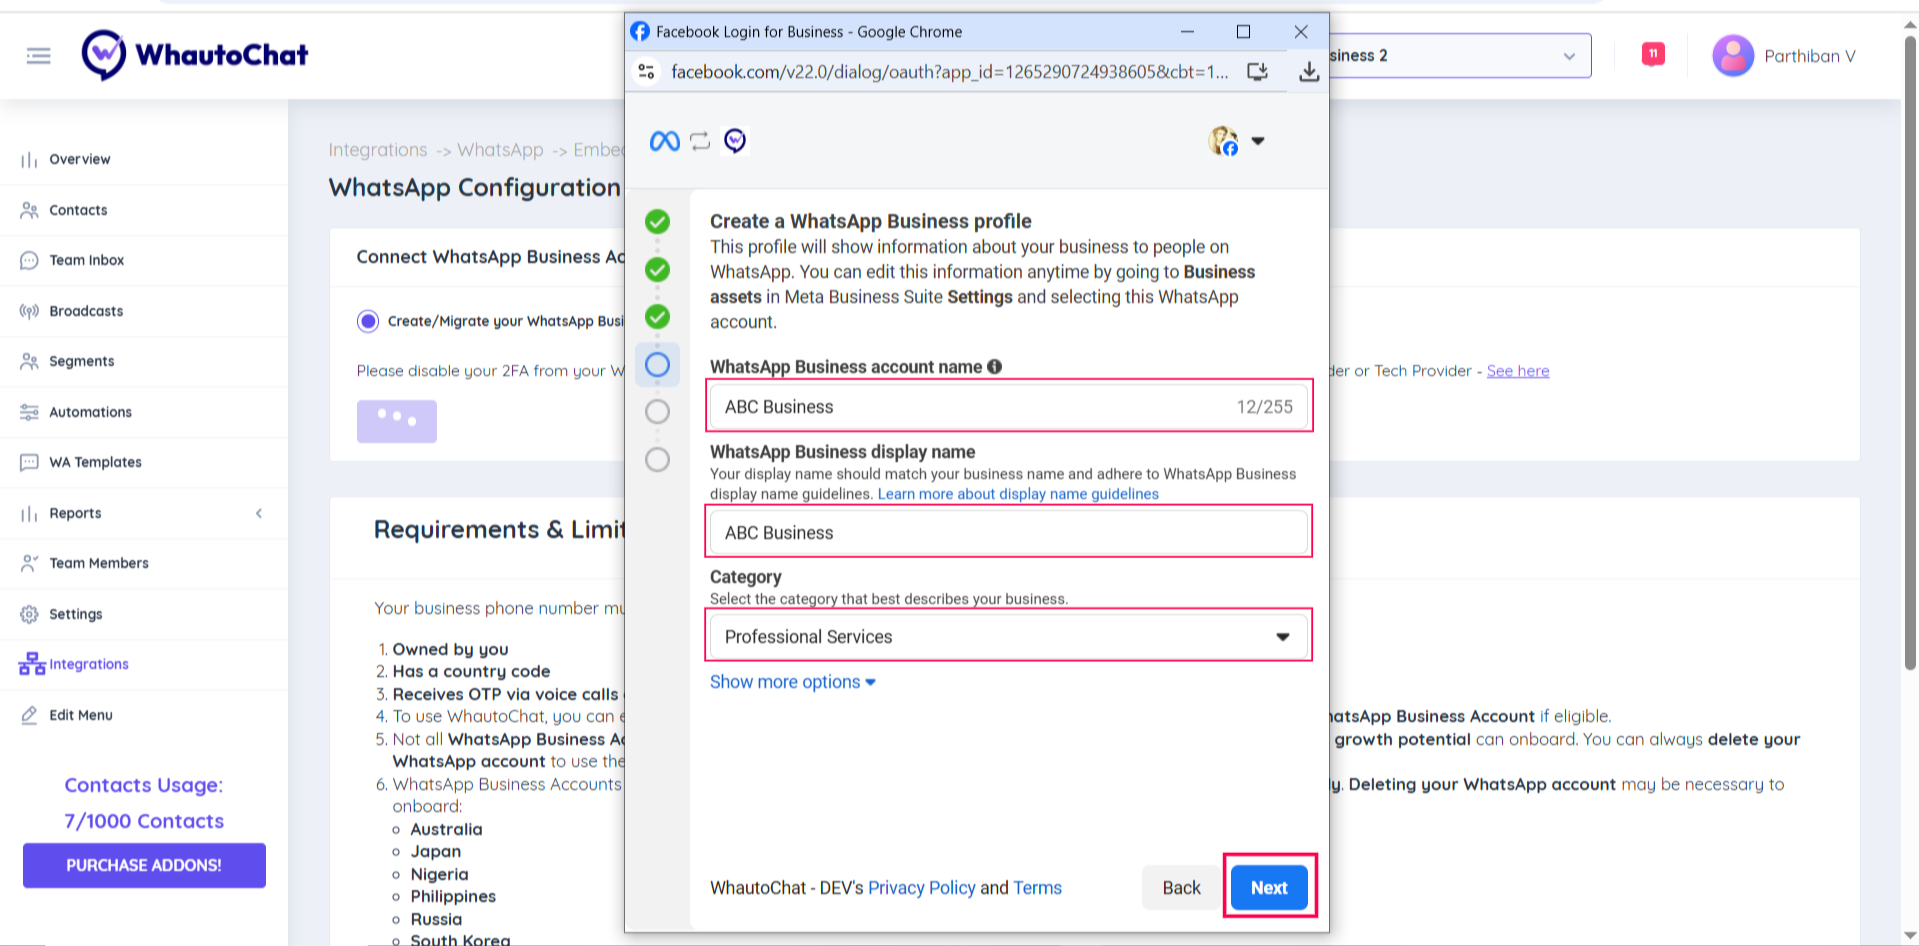
8. Set Up WhatsApp Business Profile
- Enter your WhatsApp Business Account Name
- Enter your Display Name (this is shown on your WhatsApp profile)
- Select your Business Category
- Click the Next button
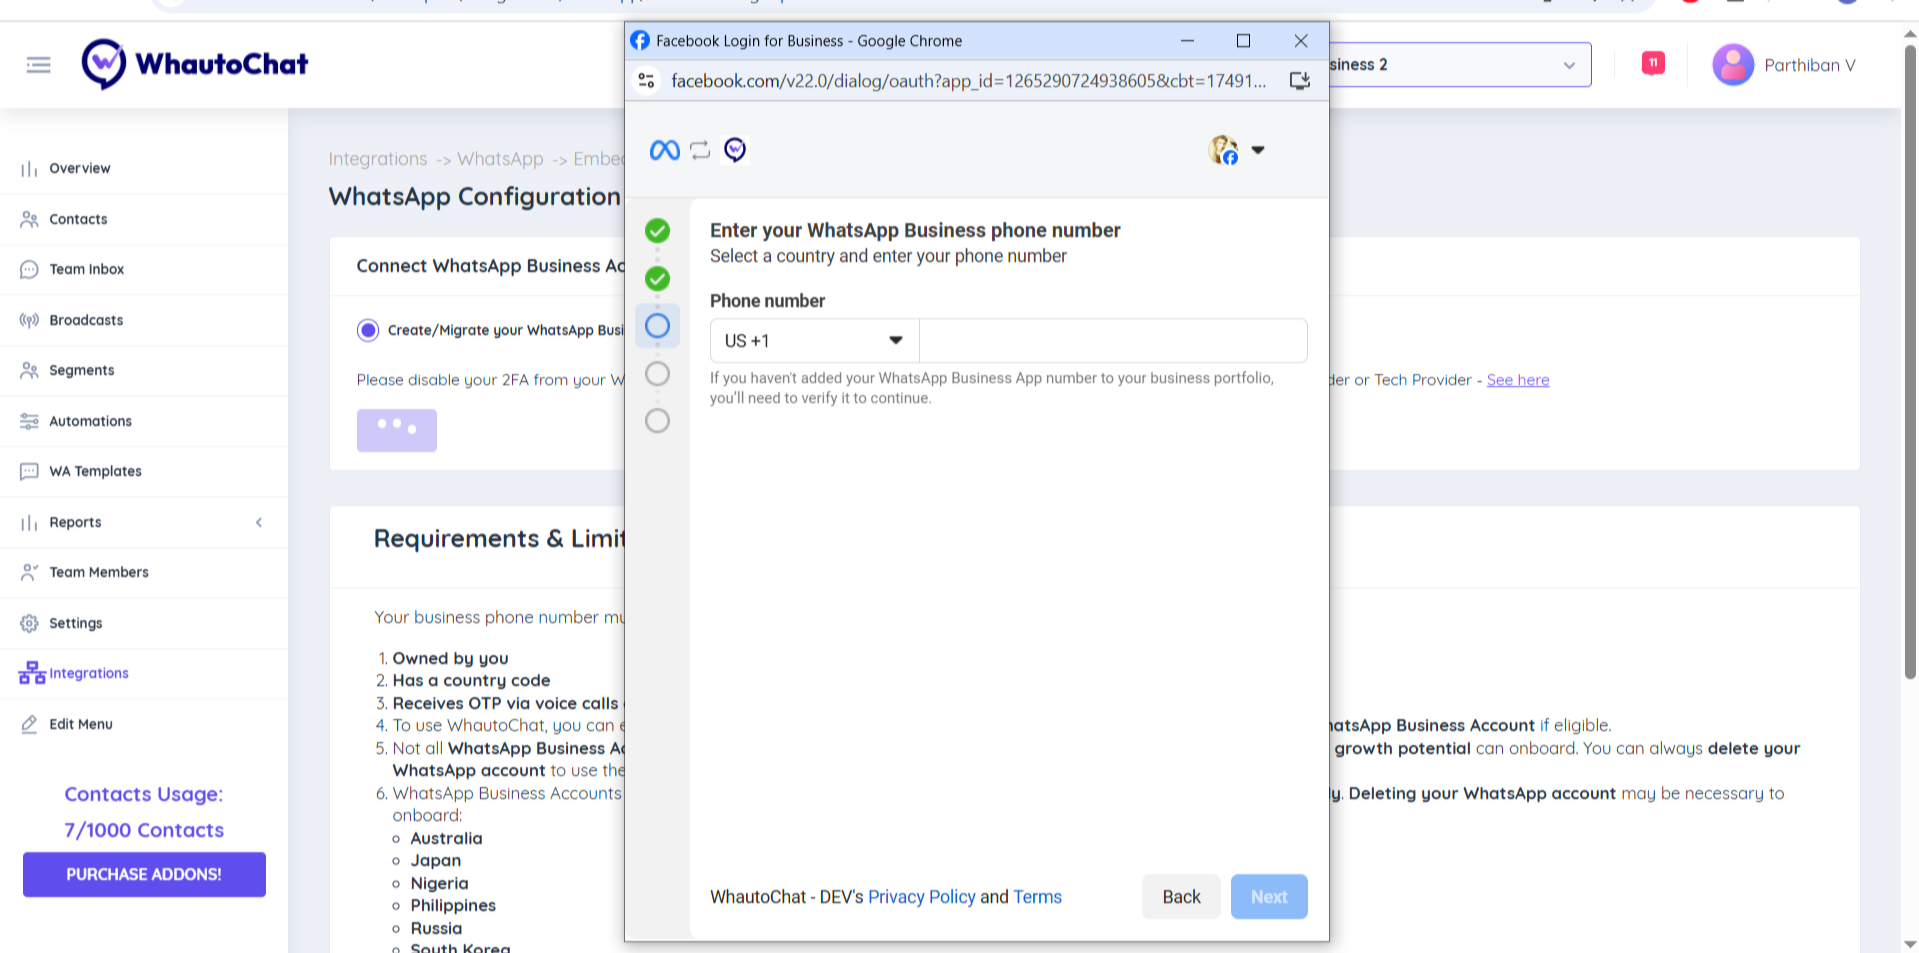
9. Connect Your Phone Number
- Select your Country Code and enter your Phone Number
- Verify your number via SMS or Phone Call
- Enter the verification code and click Next

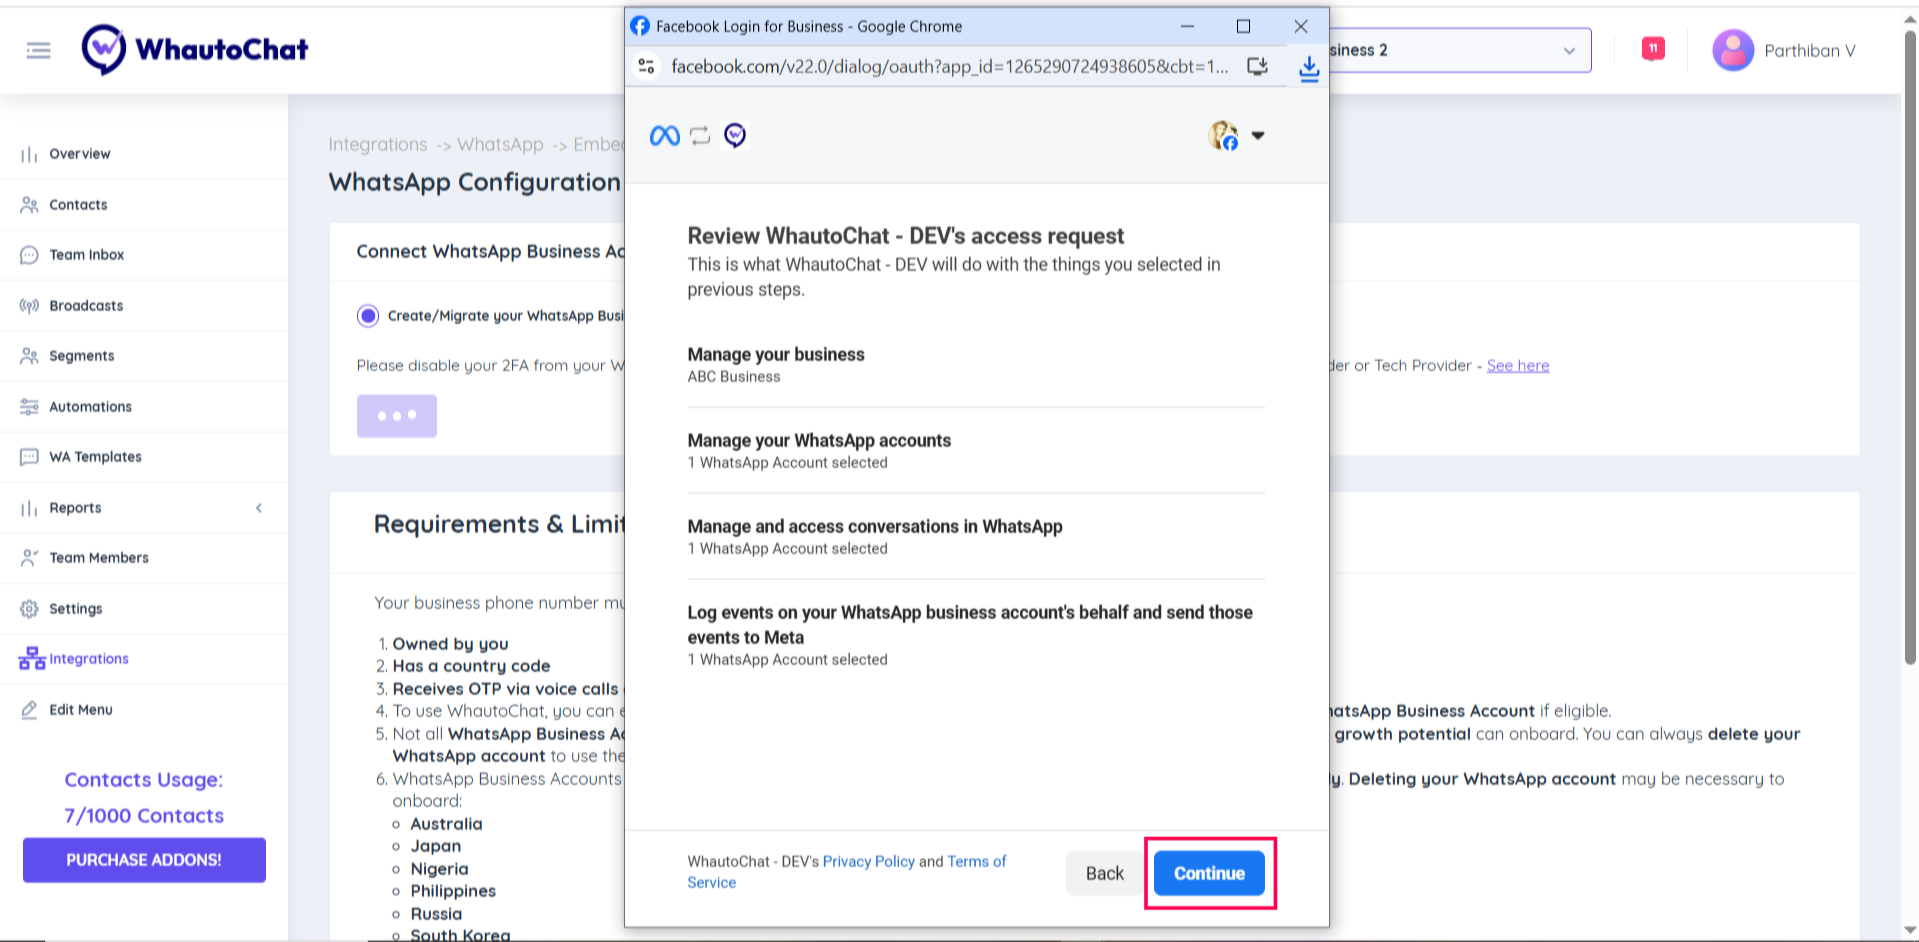
10. Finalize Setup
- Click Continue to proceed.
- Click Add Payment to enter your payment method.
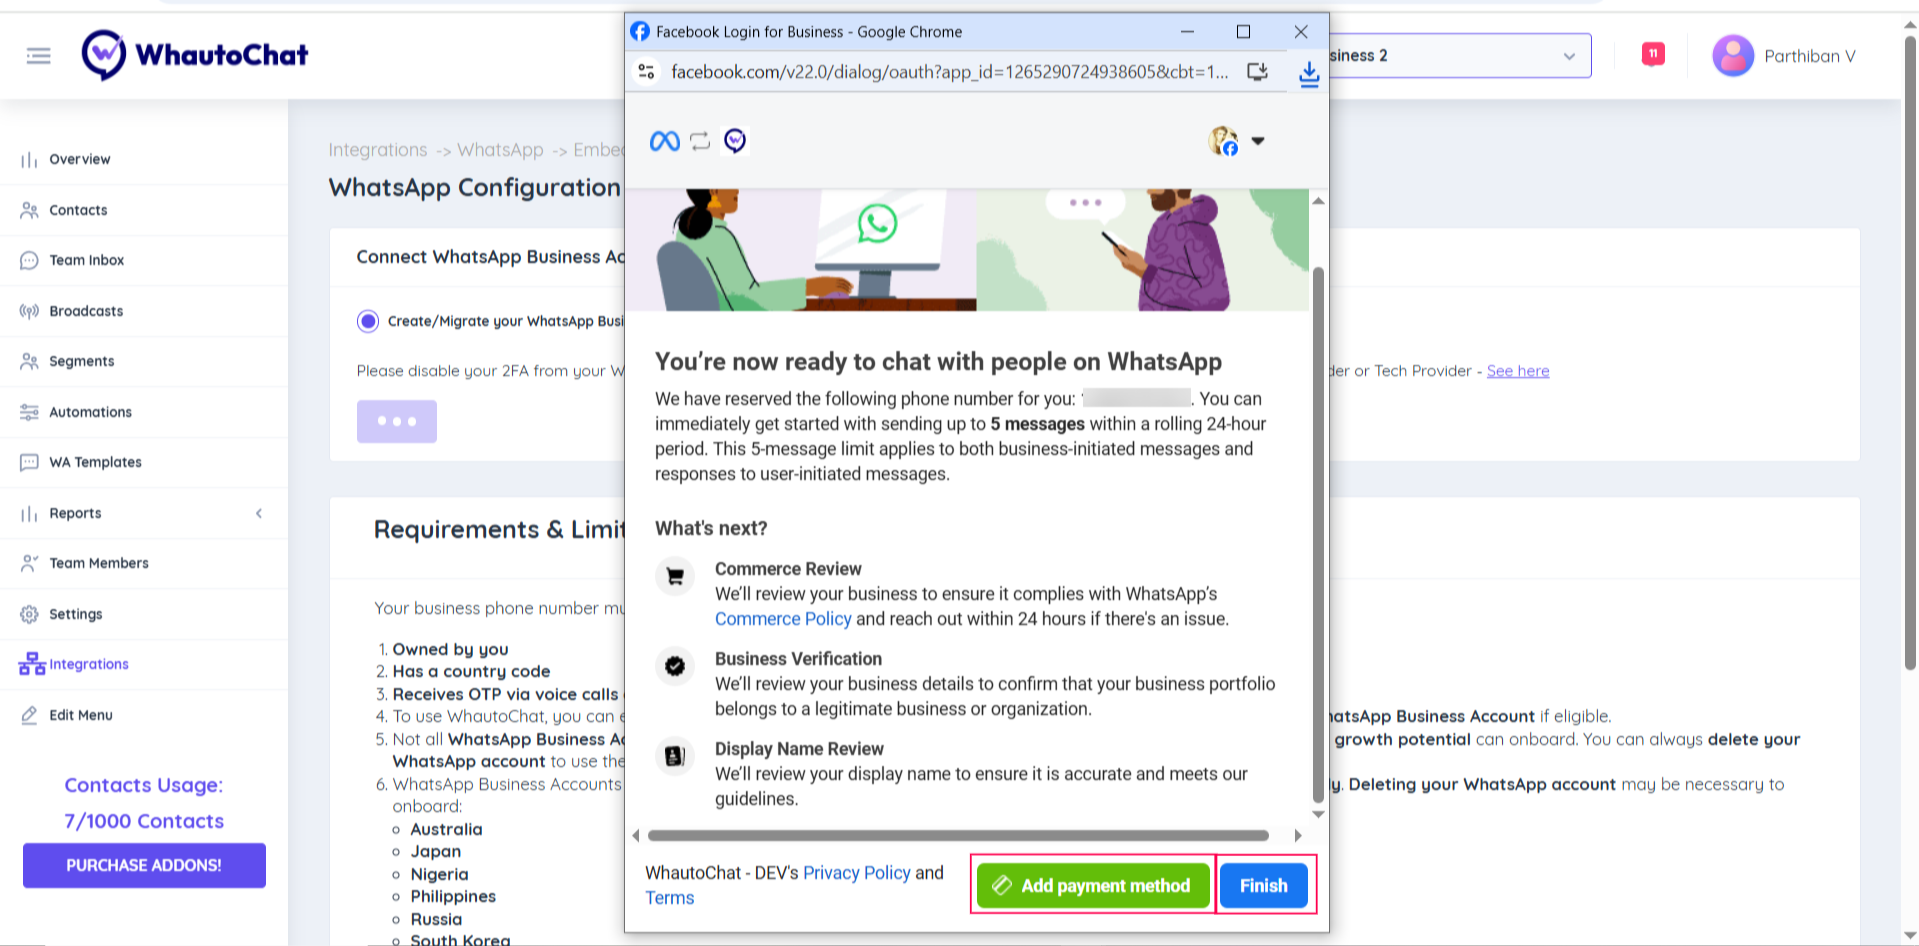
⚠️ Note: Adding a payment method is mandatory for sending template messages. After adding payment details, click Finish.
11. Test Your Connection
Once the setup is complete and the number is connected, try sending a test message to confirm everything is working.

WhatsApp is now connected! You can start messaging your customers and using all WhatsApp features in WhautoChat.
Reach out to our support team anytime – we’re here to help you connect smoothly. [email protected]
For detailed troubleshooting, refer to our Troubleshooting or contact support.